
Home brewing beer
13 November 2022
I've recently tried my hand at brewing beer. This post sets out how I did it, the results, and the lessons learned.
A little while ago my brother-in-law mentioned he had brewing equipment he wasn't using. I've been meaning to try home brewing for some time, so I took a lend of it. It was part of a kit called the "Young's Micro Brewery Complete Beer Making Kit" which retails for about £100.
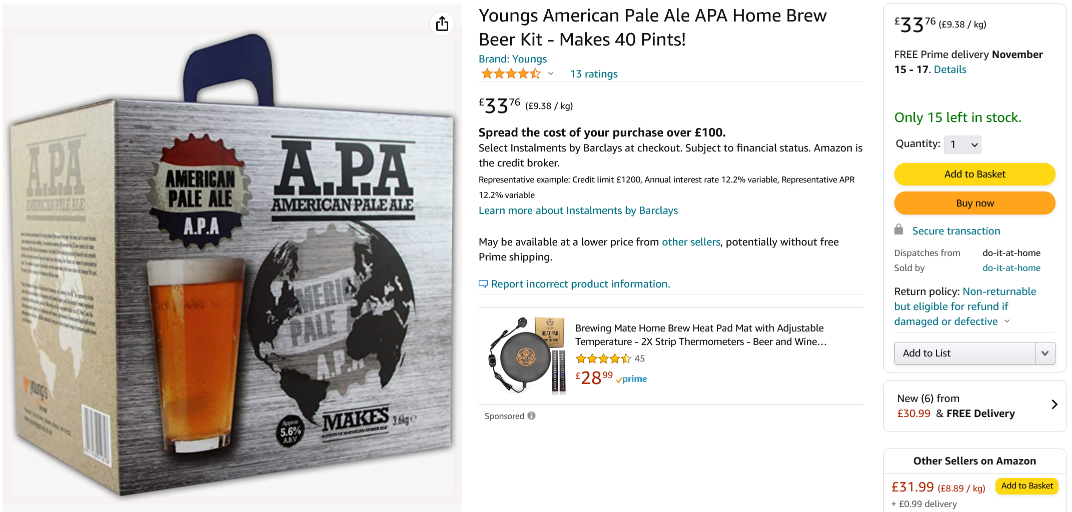
As well as the equipment, the original kit had the raw materials needed to make the beer. Of course, my brother-in-law had used this up, so I had to buy fresh supplies. I got all I needed in another kit from Amazon produced by the same manufacturer of the micro brewery. The listing is shown below.
With all necessary items acquired, I could start brewing.
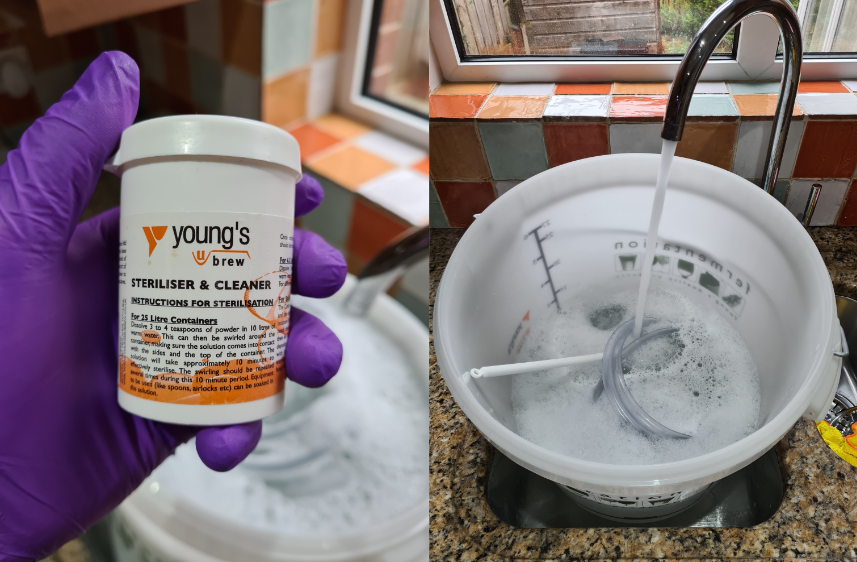
All the guides on home brewing stress the importance of sterilising the equipment, and this was the first step. The micro brewery kit comes with powder you mix with warm water to make a sterilising liquid. I put some powder in the primary fermentation vessel (a big bucket) along with smaller bits of equipment and filled with warm water. I left it for about 30 minutes before rinsing with fresh water.
Off to the side I boiled some water to sterilise it, then left it to cool down. This was for the airlock, which I'll come on to in a bit.
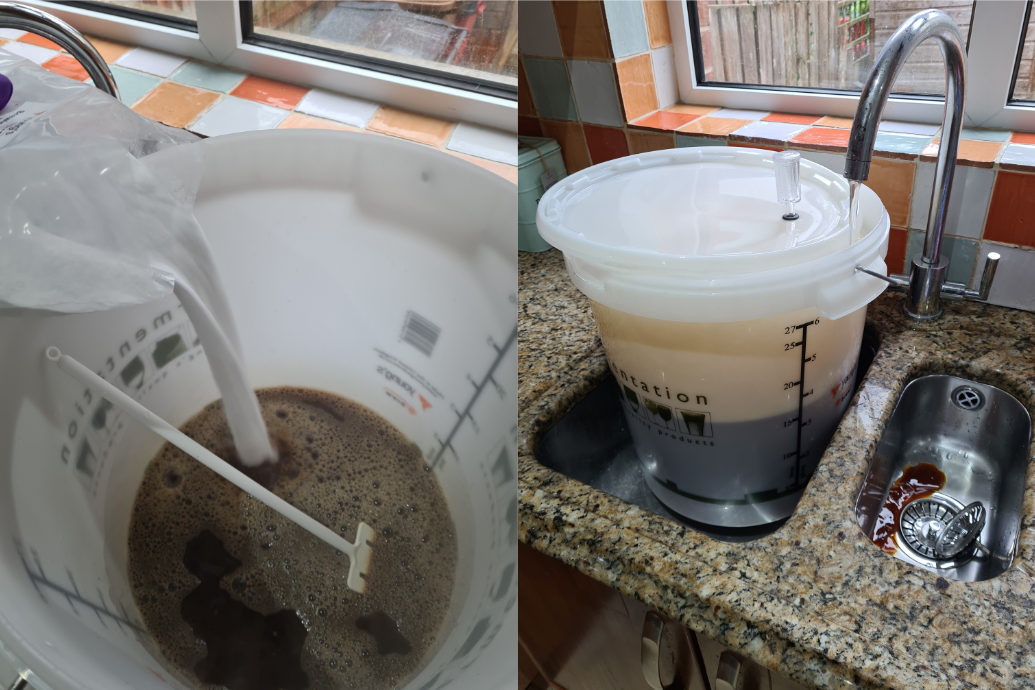
With the primary fermentation vessel clean, I could add the first ingredient: malt extract. This is made from grain, in this case barley. It looks and smells like molasses, and it's thick like molasses too. I had to roll the pouch like a tube of toothpaste to get it all out. The sugar within the malt extract is basically food for the yeast.

I added 3 litres of boiling water and stirred the malt extract to dissolve it. This took longer than expected because it really is very thick. The kit comes with "brewing sugar", which again is just food for the yeast, so I poured it in and gave it a stir. With the mixture dissolved I added 20 more litres of cold tap water. It got a bit foamy, so I scooped some foam into the sink.
In the brewing world the mixture at this point is called "wort". I kept the lid partially on while filling because even though everything is sterilised, bacteria from the air can still infect the brew.
The instructions state the next step is to stir vigorously to oxygenate the mixture, but mine had so much foam it was coming over the sides, so I didn't bother with this.
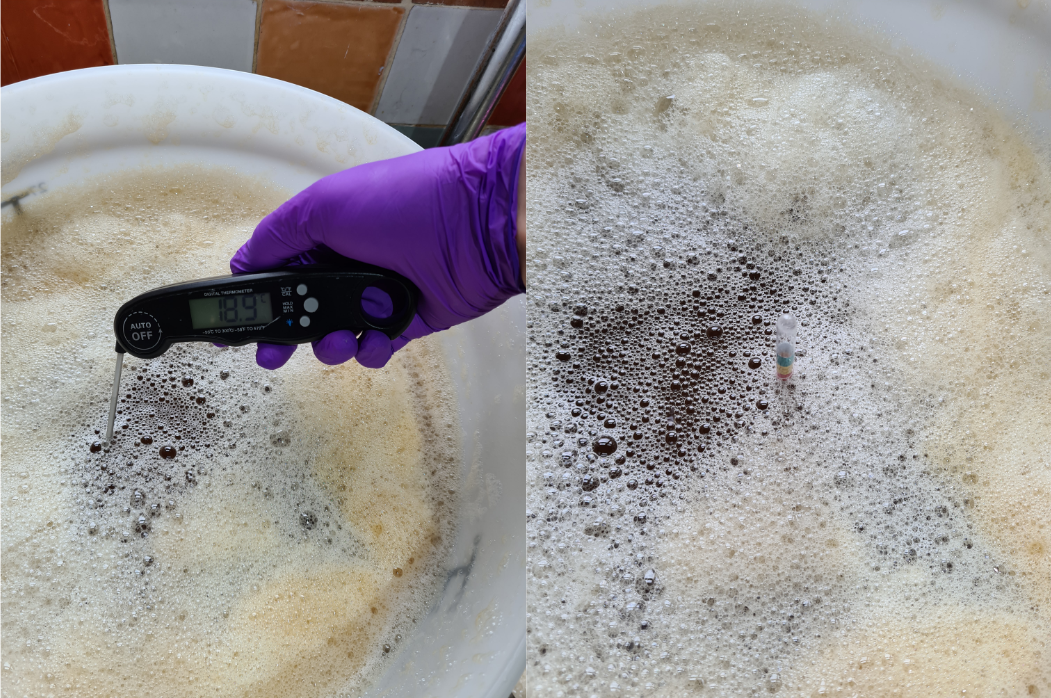
Before I added the yeast, I made sure the wort wasn't too hot. At a temperature above 25℃ you risk killing the yeast cells.
I also took a specific gravity reading with a hydrometer (in the second picture, it bobs up and down in the liquid). However, in hindsight I think I did this incorrectly. The reading was in the range 1.01 - 1.02 but I've since learned a typical wort has a specific gravity in the range of 1.04 - 1.05. I don't know enough about brewing to know why my readings were off - this is going to be an area of research for the next brew. Wort is basically sugary water, which is exactly what I made so I'm convinced my wort was fine, it's just the hydrometer reading that was wrong.
Before I sealed the lid I sprinkled in the yeast and stirred gently. The lid comes with a little air lock device. This lets gases escape the fermentation vessel but won't allow air to enter. The air lock needs to be filled with a sterilised liquid. Some people use vodka but I used sterilised water (the water I had boiled earlier).
As the mixture ferments, the yeast will give off carbon dioxide. This will increase the pressure inside the fermentation vessel. The carbon dioxide will be expelled through the air lock which is filled with the water, and you can observe the water bubbling. This is a key indicator that fermentation is taking place.
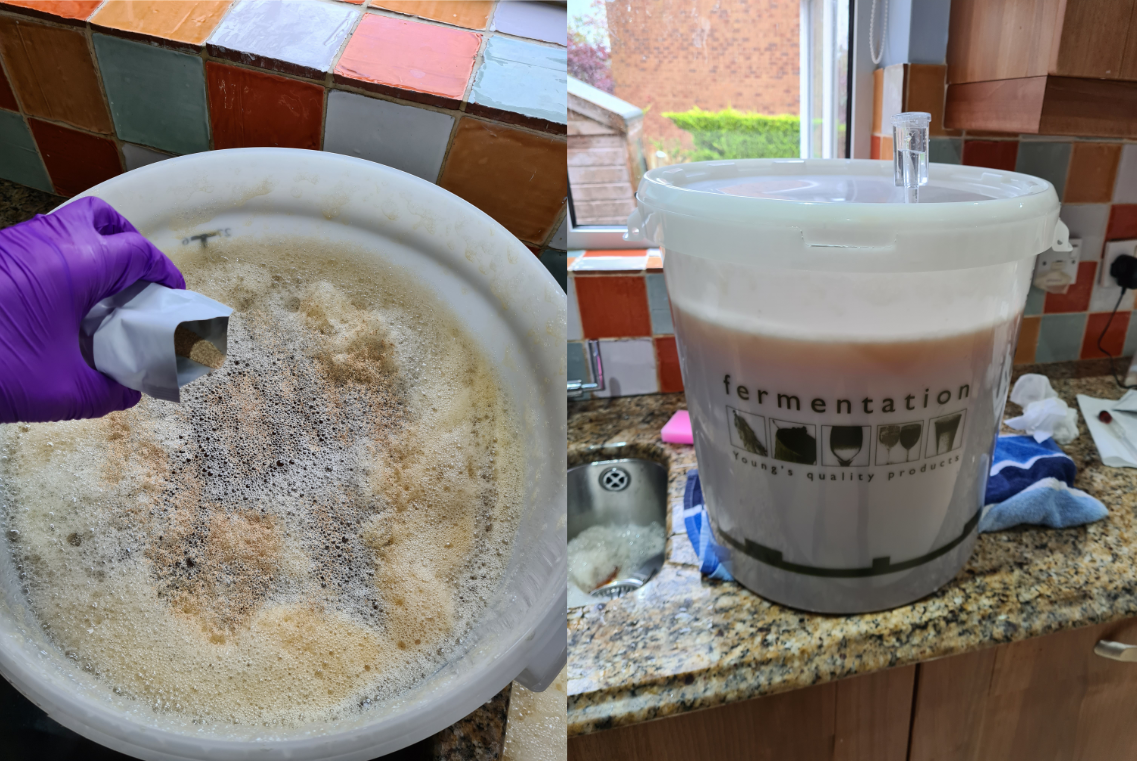
At this point it's just a matter of waiting for a period of about 2 weeks. I observed the airlock bubbling after about 24 hours, which was very encouraging. I left the yeast to do their thing and didn't open it or disturb it. I did notice a faint smell of wort in the room, but it wasn't unpleasant, and it wasn't that strong.
The instructions state the hops should be added when the primary fermentation slows to less than 1 bubble in the airlock per 30 seconds. There is also guidance on gravity readings, but I had given up on the hydrometer at this point. After 14 days the rate of bubbling has slowed considerably and I opened the vessel for the first time to add the hop pellets. Adding the hops at this point is called "dry hopping". I have to say, the mixture looks pretty gross, but that was just because of the sediment.
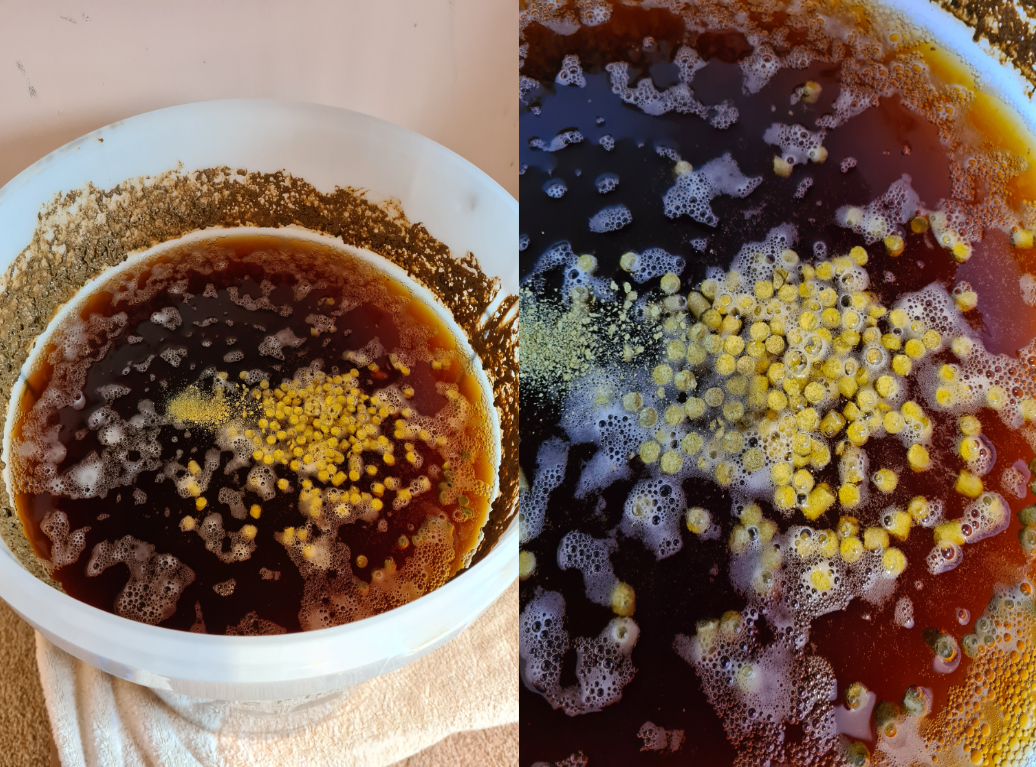
Apparently if you leave the hops for more than a couple of days the beer gets too bitter. I actually like bitter beers but I didn't want to risk my first brew, so I moved on to the next step.
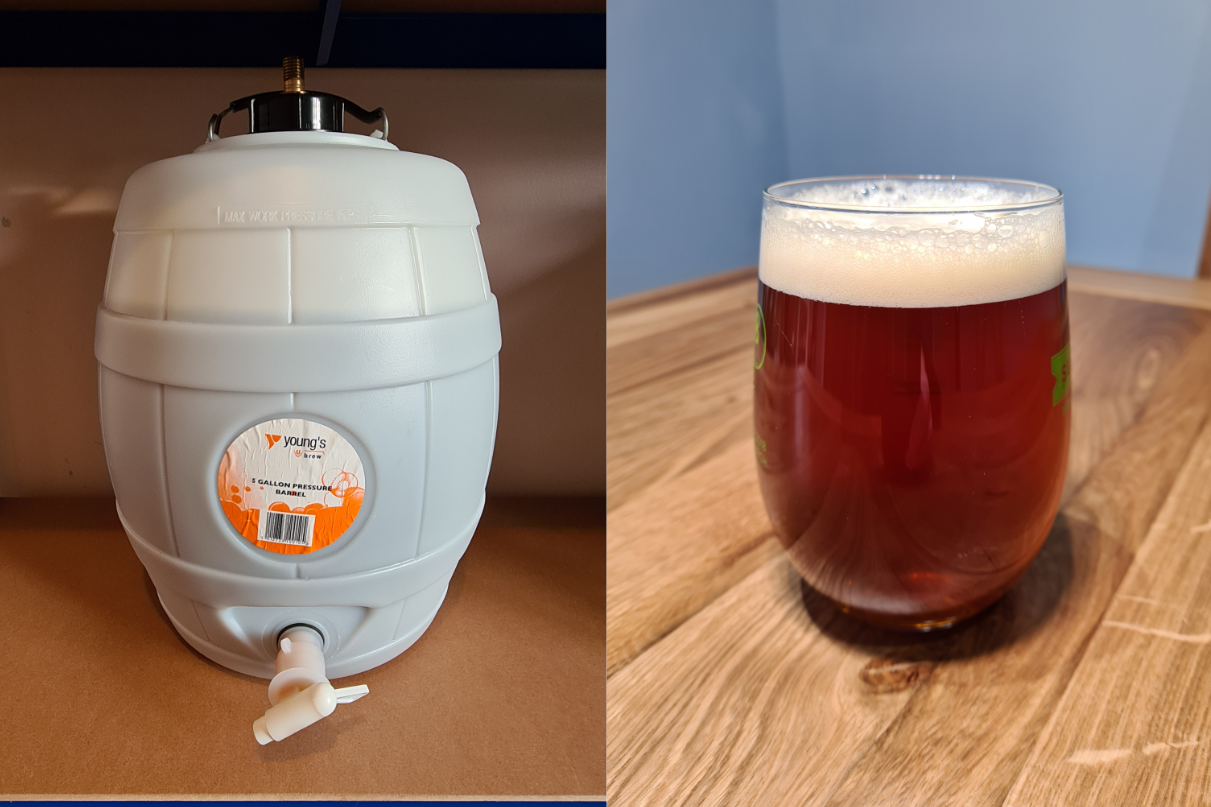
At this stage in the process, you have a choice: put the beer into individual bottles, or put all of it into a barrel. The micro brewery kit comes with a massive plastic pressure barrel for just this purpose, so I used that. Plus, I didn't have bottles or caps anyway.
The beer at this point is flat, because gas can escape the primary fermentation vessel. But the barrel will be sealed airtight, so a secondary fermentation can take place within it, and the carbon dioxide released will dissolve into the liquid, causing it to be carbonated. To facilitate this, I added what's called "priming sugar" to the barrel. To be honest, I don't know how the brewing sugar used earlier, or this priming sugar, is different to just normal table sugar, but I'm sure there's a reason.
With the priming sugar added I siphoned the beer out of the primary fermentation vessel into the barrel. I was very careful to leave as much of the sediment as possible in the primary vessel, so it didn't end up in the finished product. I don't have a photo of this because it was messy and awkward to begin with, without adding a camera into the mix.
I left the barrel for a further 2 weeks before tasting. Apparently it takes up to a month for the quality to peak, and then can be drunk over 3-4 months.
So how was it?
Well, when I turned the tap and poured, it really gushed out, and was very foamy. It was easier to first pour into a jug, wait for the head to go down, then pour into a glass. I was surprised at how clear it was. It's clearer than many commercial craft beers I've tried over the years.
To taste, I would describe it as a bitter IPA. Due to my dodgy hydrometer readings I have no idea what the alcohol content is, but subjectively, I think it's on the higher side. To be frank, the beer won't win any awards. But I've certainly tasted commercially available craft beers that tasted worse. This should also be put in context; I frequently buy craft beers at £4/5/6 per can; this has cost me less than £1 per pint!
My main takeaway is brewing beer is surprisingly easy, and it's something I'll try again. Next time I'll be more accurate with the hydrometer readings. I'll also bottle the beer instead of barrelling it. For two reasons: (1) I like my beer cold, and I can keep bottles in the fridge, and (2) it would be cool to give some away as gifts.
There you have it, home brewed beer, I recommend!