Making a Warhammer 40k gaming board
11 October 2022
Introduction
A typical 1,500 point Warhammer 40k game is played on a 4 × 4 ft board. Like many a wargamer I've measured my kitchen table only to discover the width is a mere 3 ½ ft wide. So I built my own board.
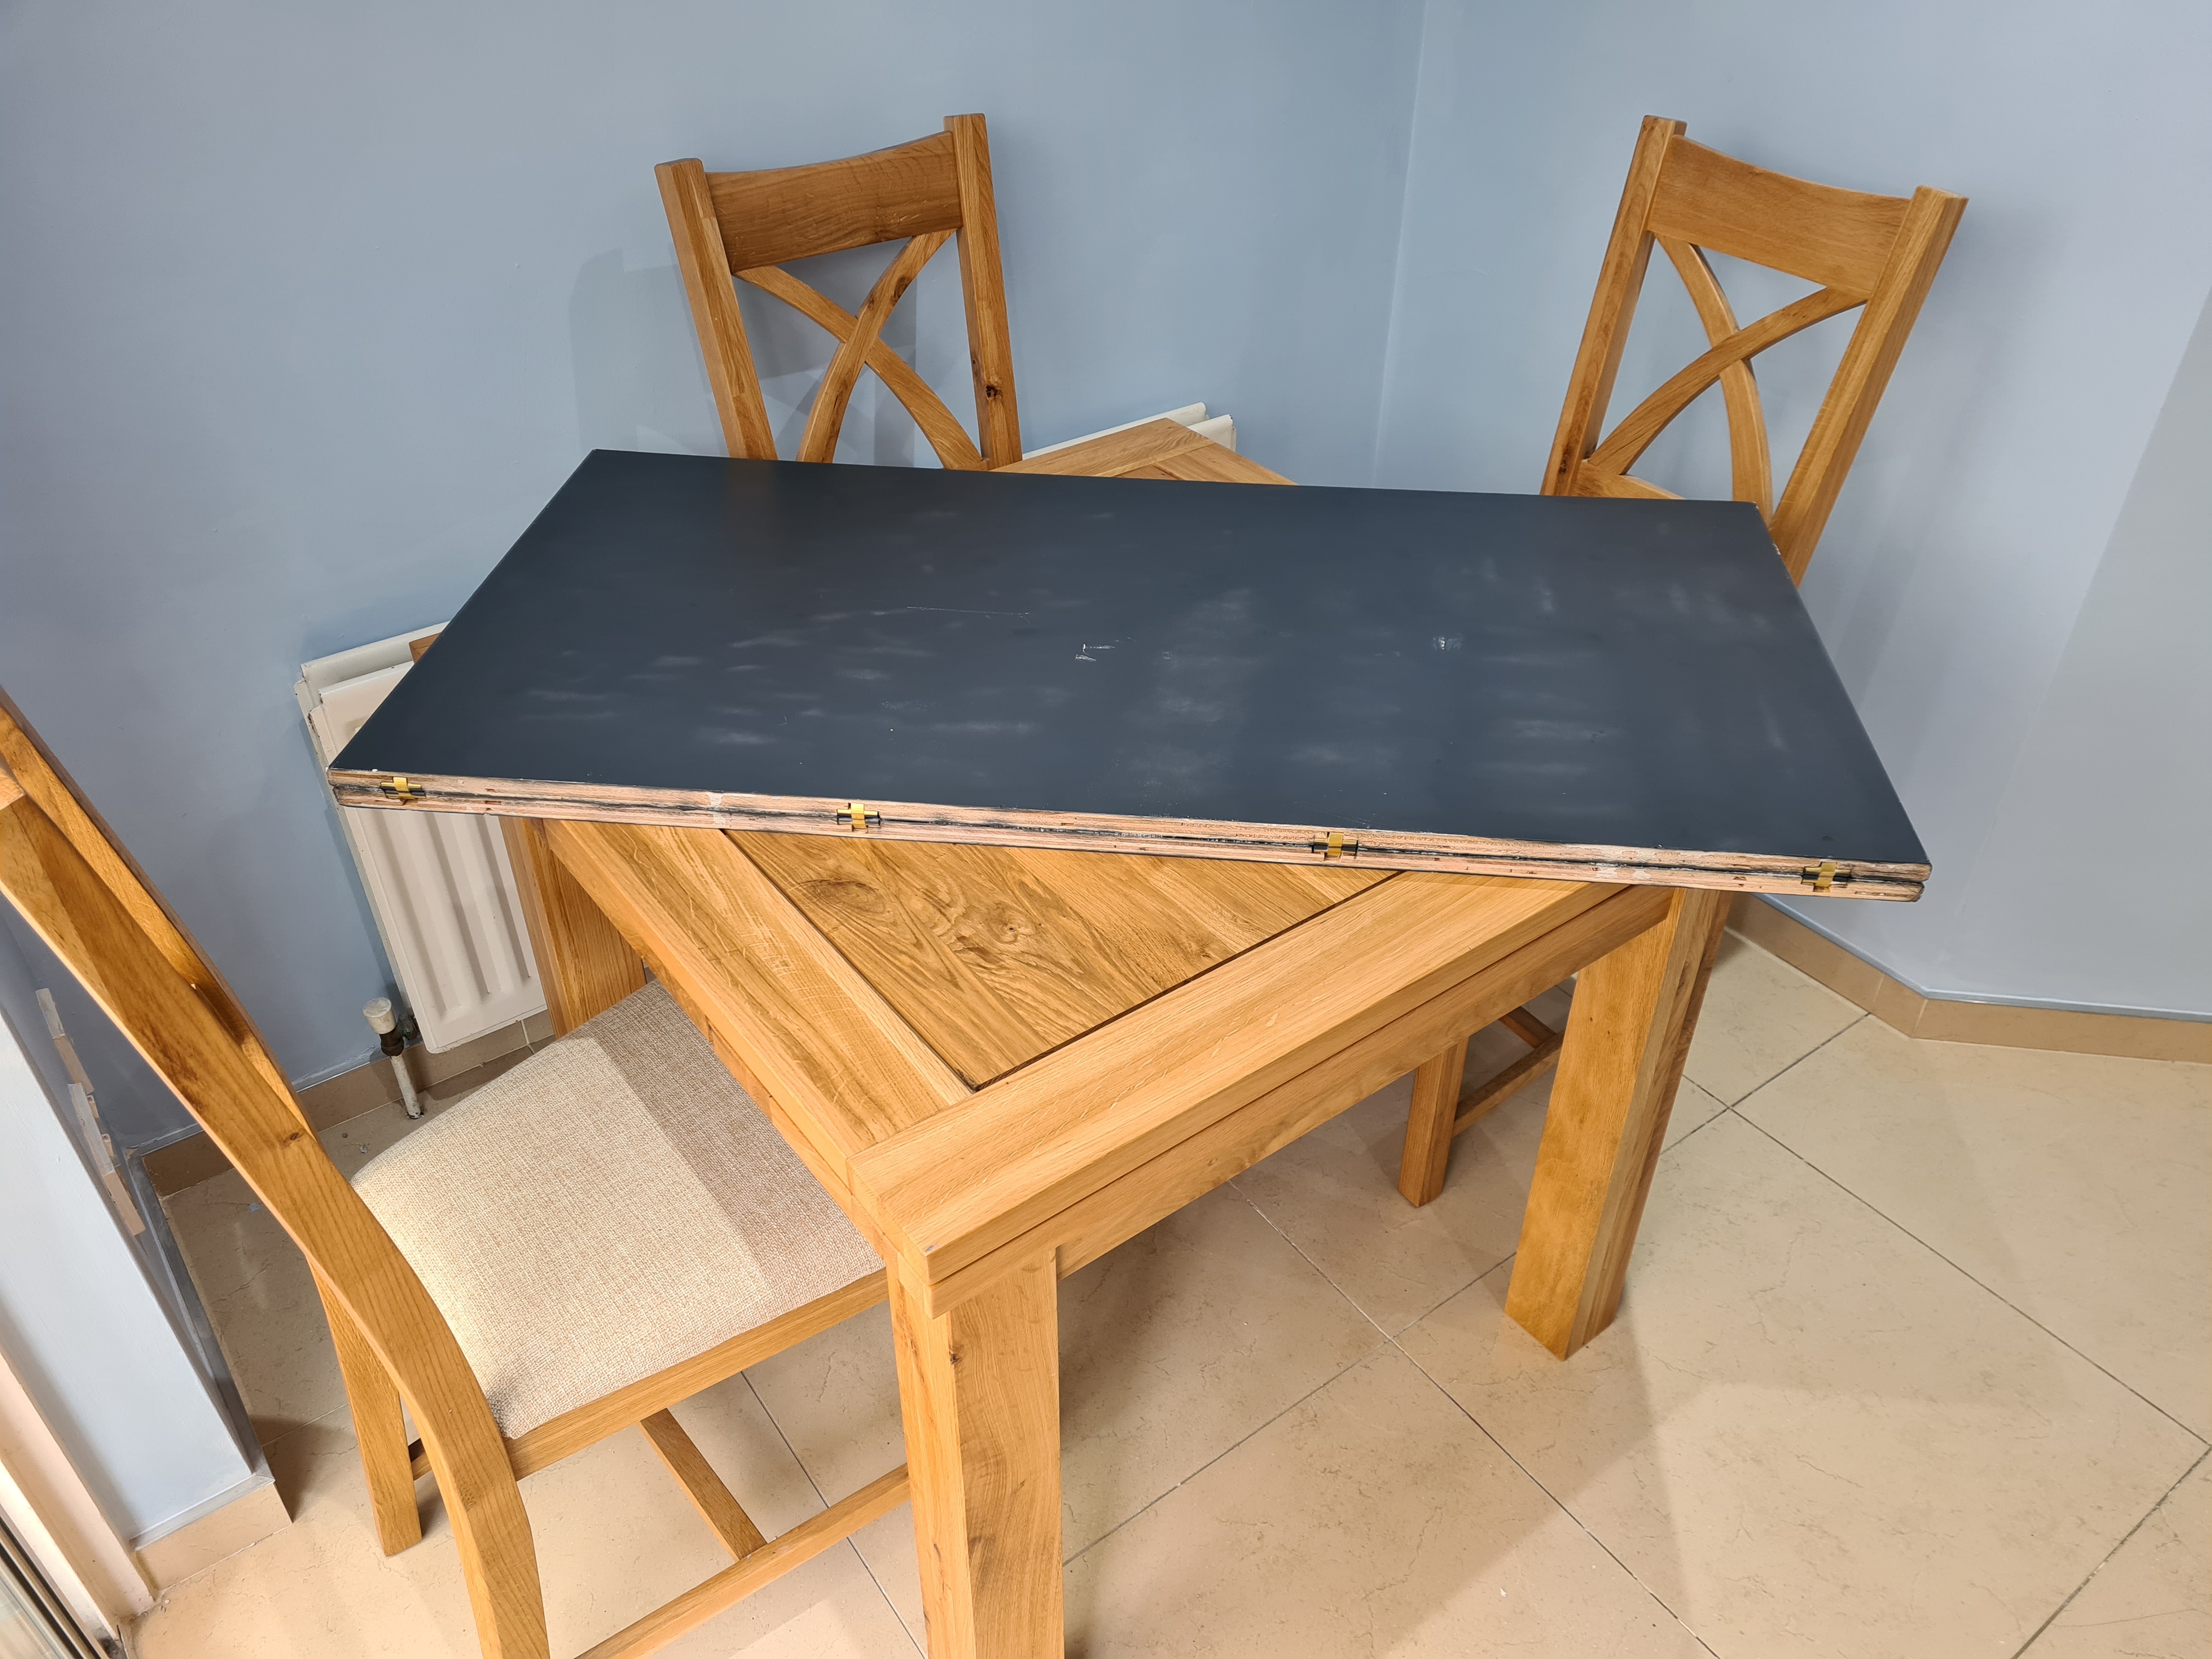
It consists of two 2 × 4 ft sheets of plywood connected together with hinges, and it can be folded in half for storage. It takes up less space than a permanent gaming table, BUT you must be careful not to lean on it, which is the drawback of the design. This post will set out how I did it.
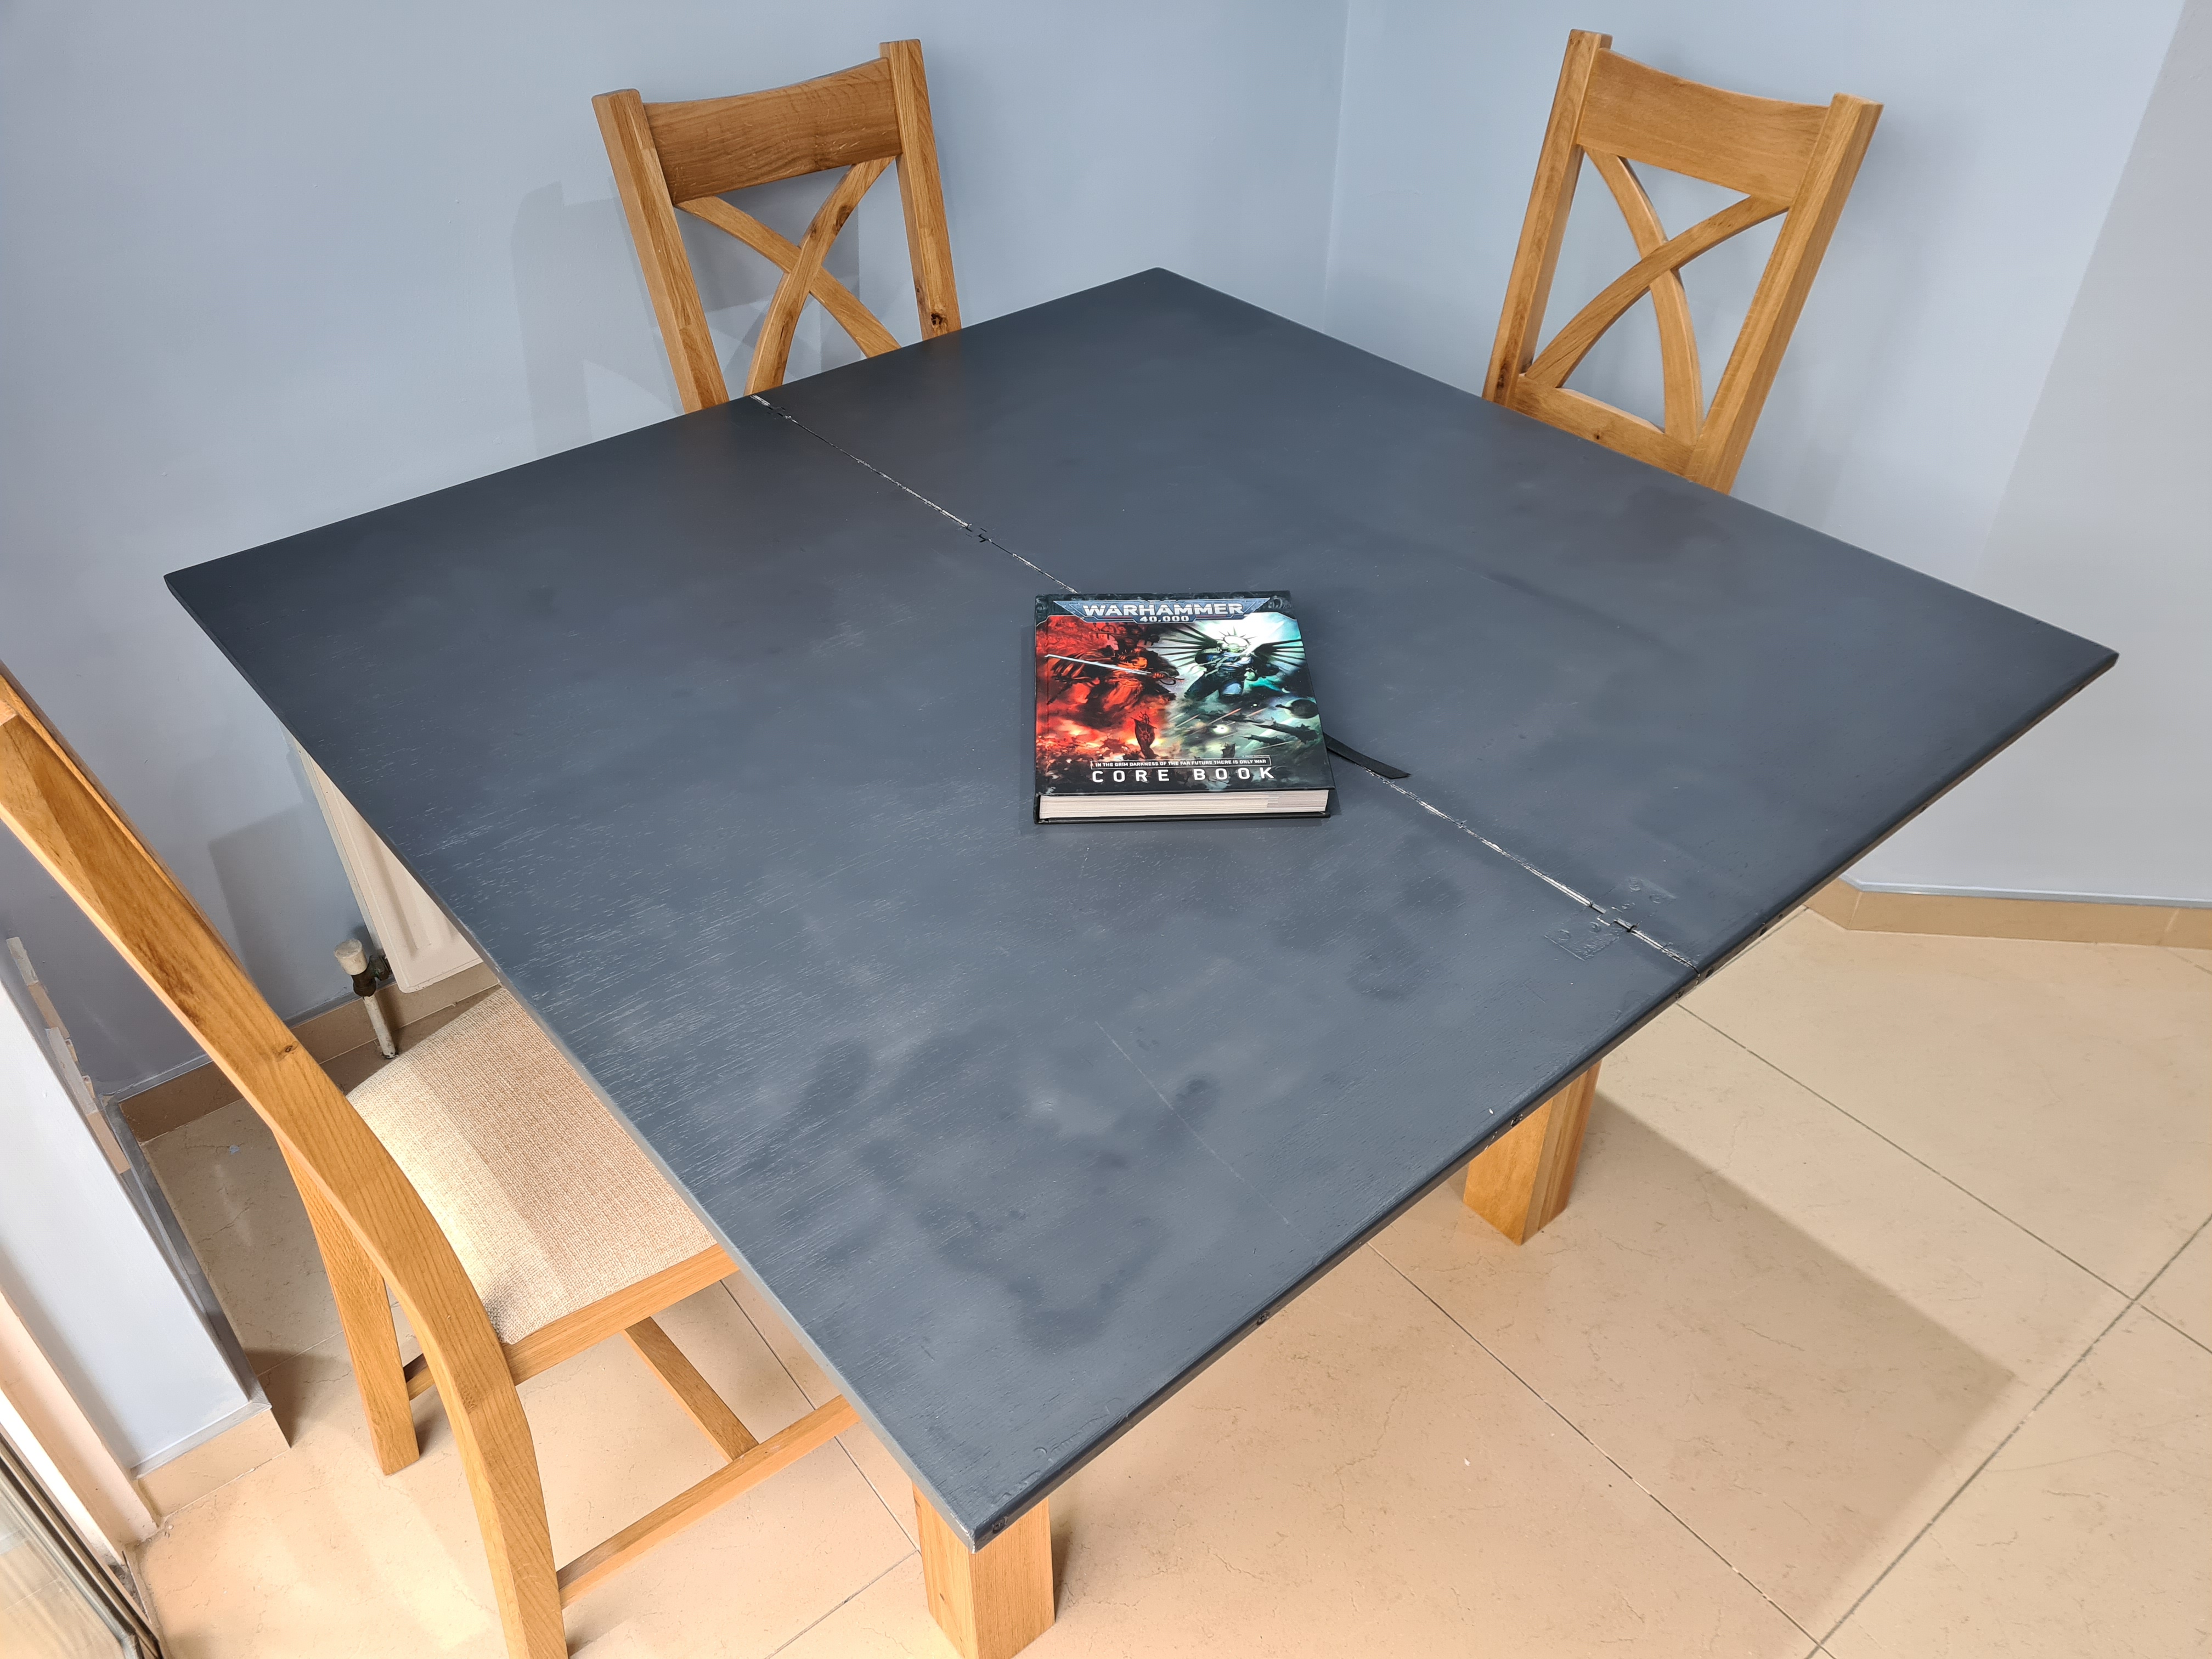
The final result is shown below.
Materials and Tools
These are the materials I used. I already had a few items, but I bought most of them.
- Two 2 × 4 ft plywood boards
- Two pairs of counter hinges
- Long strips of wood with D-shaped cross-section (was listed as "D-shaped moulding")
- Wood filler
- White primer
- Grey spray paint
- Screws
- Wood glue
- Masking tape
I had all the tools I needed. These are listed below:
- Drill
- Ordinary drill bits for wood (for drilling pilot holes for screws)
- Countersink drill bit
- Screw bits
- Clamping mitre box (for cutting D-shaped mouldings at 45 degree angles)
- Sander
- Wood chisel
- Mallet for working with wood chisel
Method
The 18 mm thick plywood is pretty hefty. I wanted thicker sheets to reduce the chances of the table warping.
It was tempting to just attach the two sheets, slap on a paint job, and call it a day. But when I got the sheets I was unhappy with the rough edges. I could forsee t-shirts being snagged on little bits of wood, and annoying wood splinters when carrying the thing. So I had a look around Homebase and found these long bits of smooth wood called "D-shaped moulding" and decided to attach those to the edges.
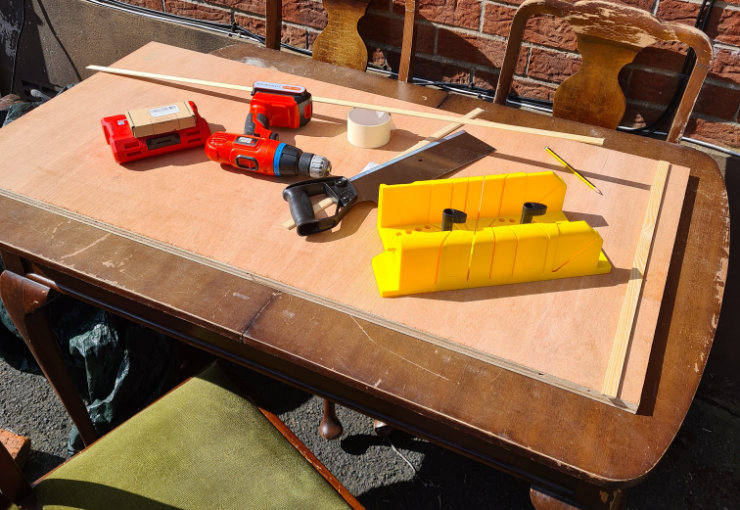
The process was as follows:
- Cut the moulding to the required length.
- Cut the ends at 45 degree angles for the corners.
- Glue the moulding to the edges of the plywood sheets, and hold in place with masking tape.
- Decide that glue isn't enough and find some wood screws.
- Drill pilot holes every 18 inches or so.
- Drill countersink holes so the screwheads sit flush with the edge.
- Screw in the wood screws.
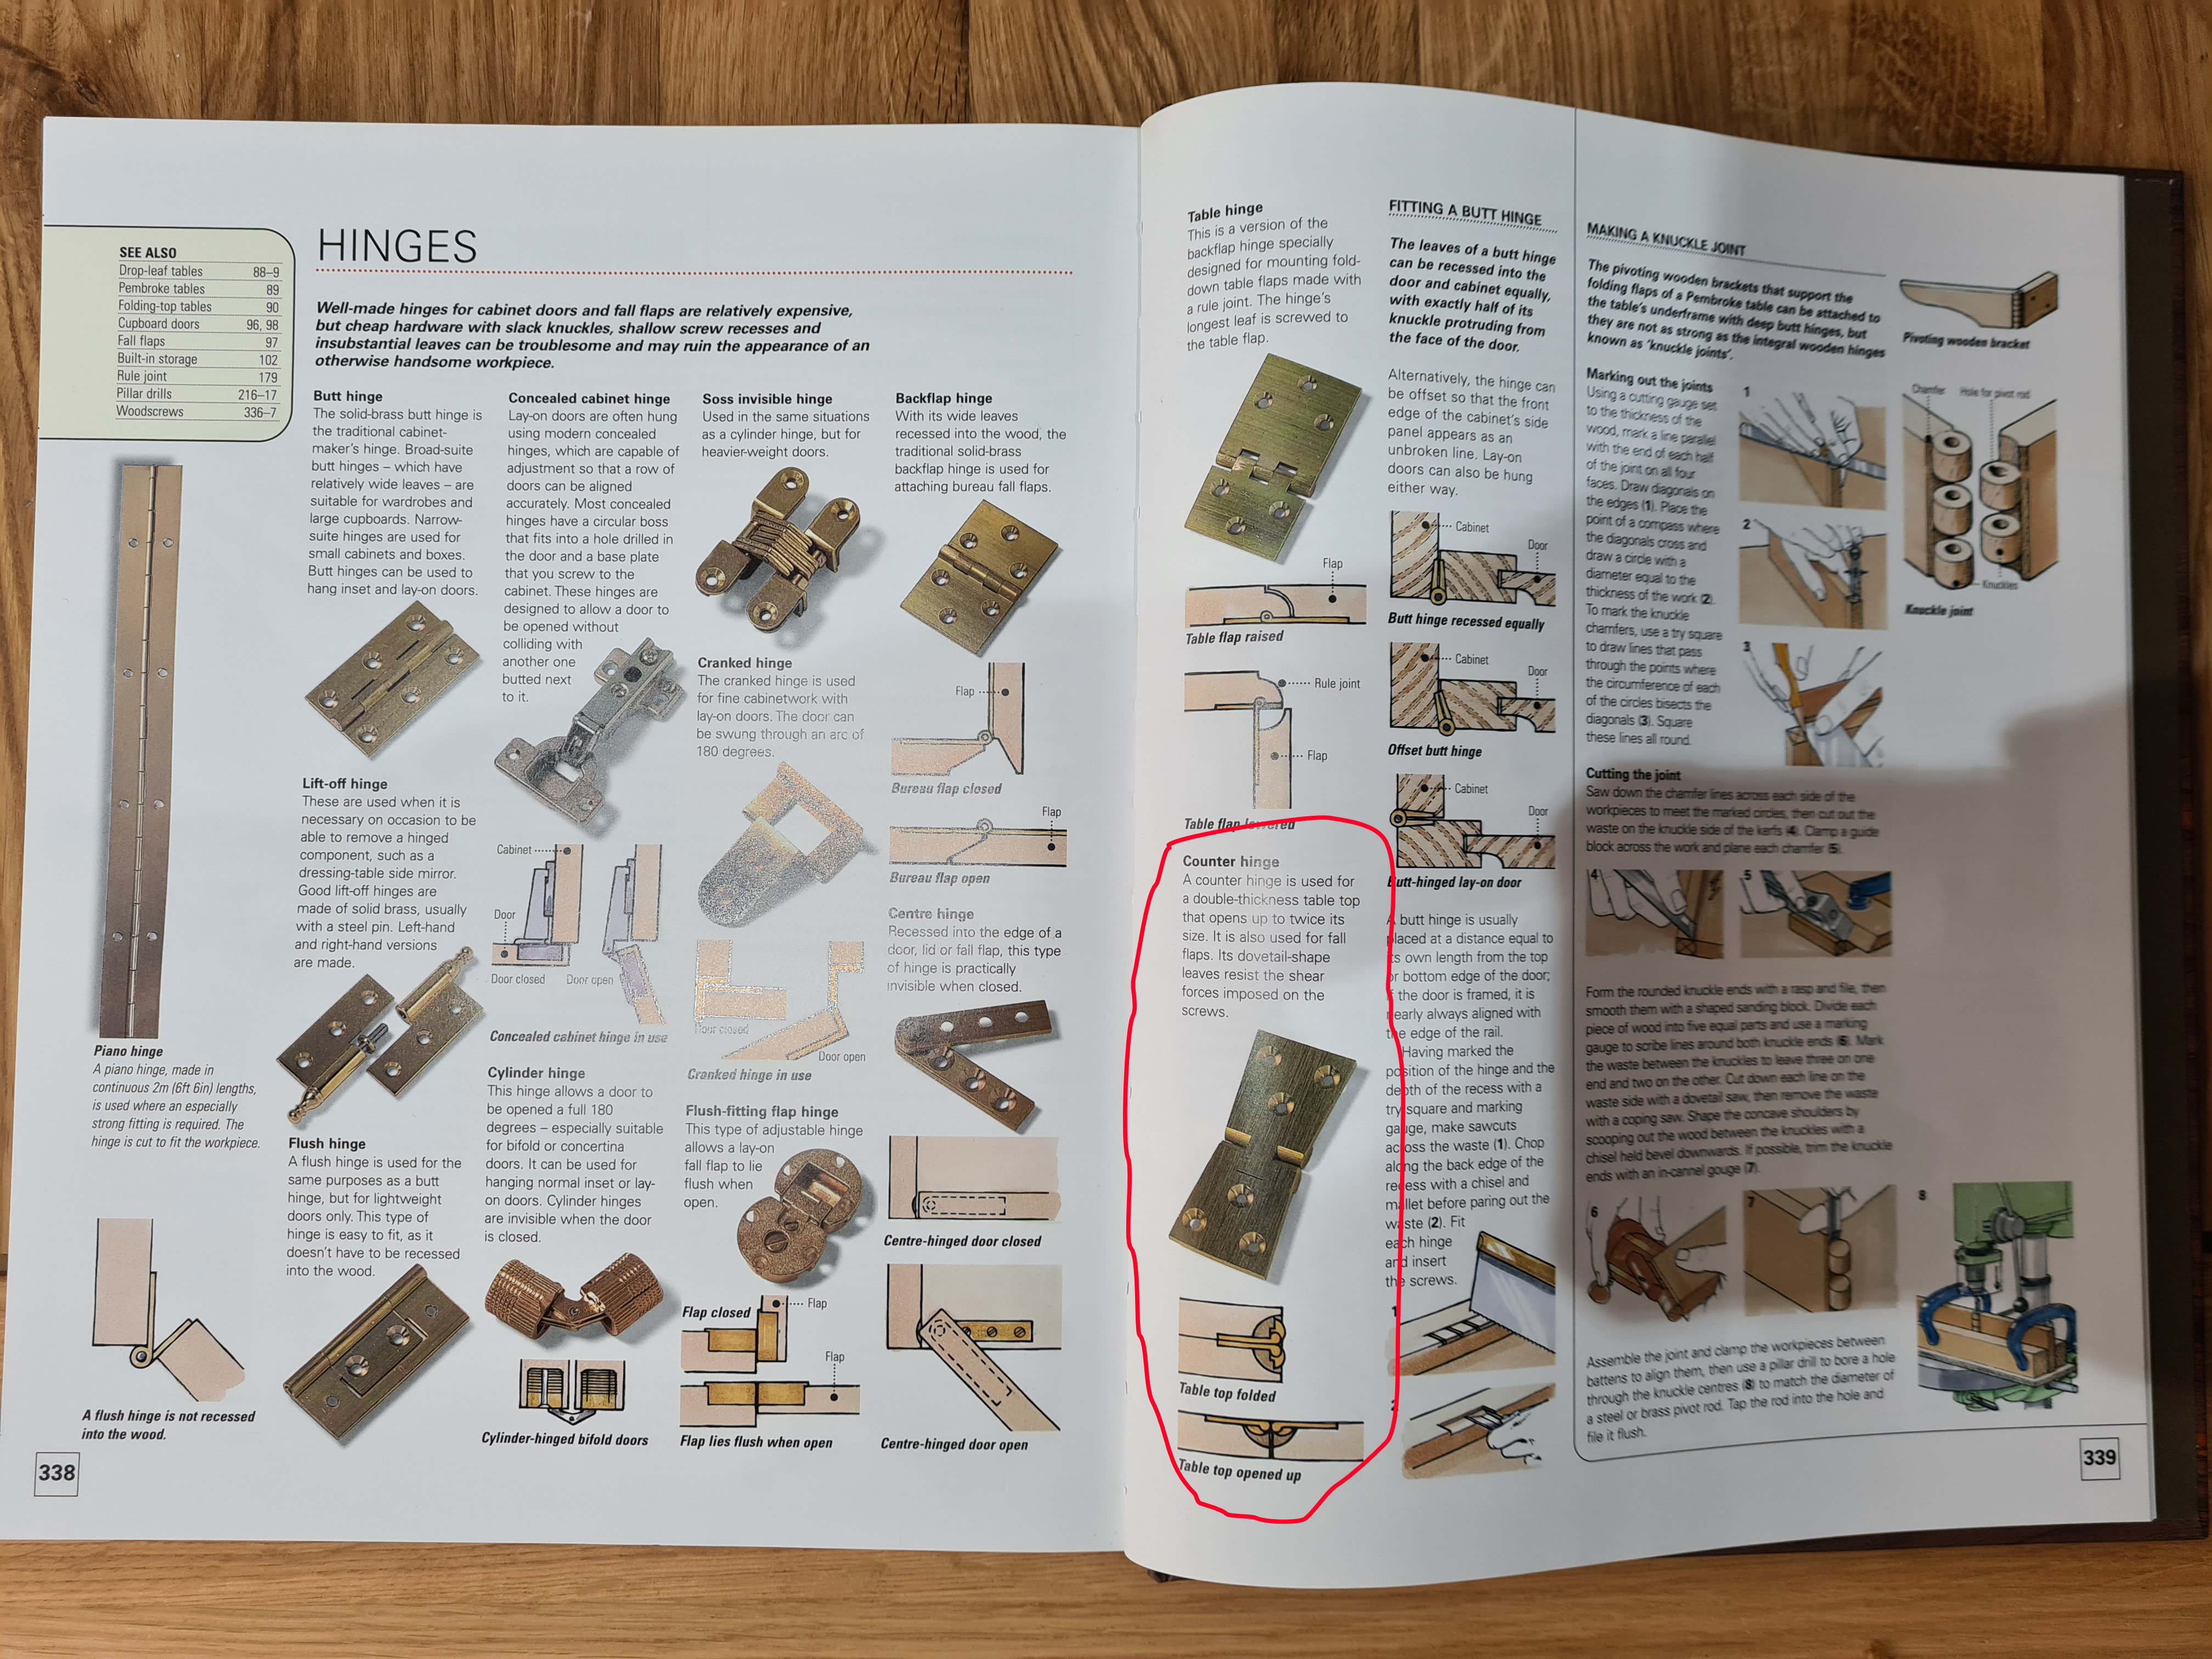
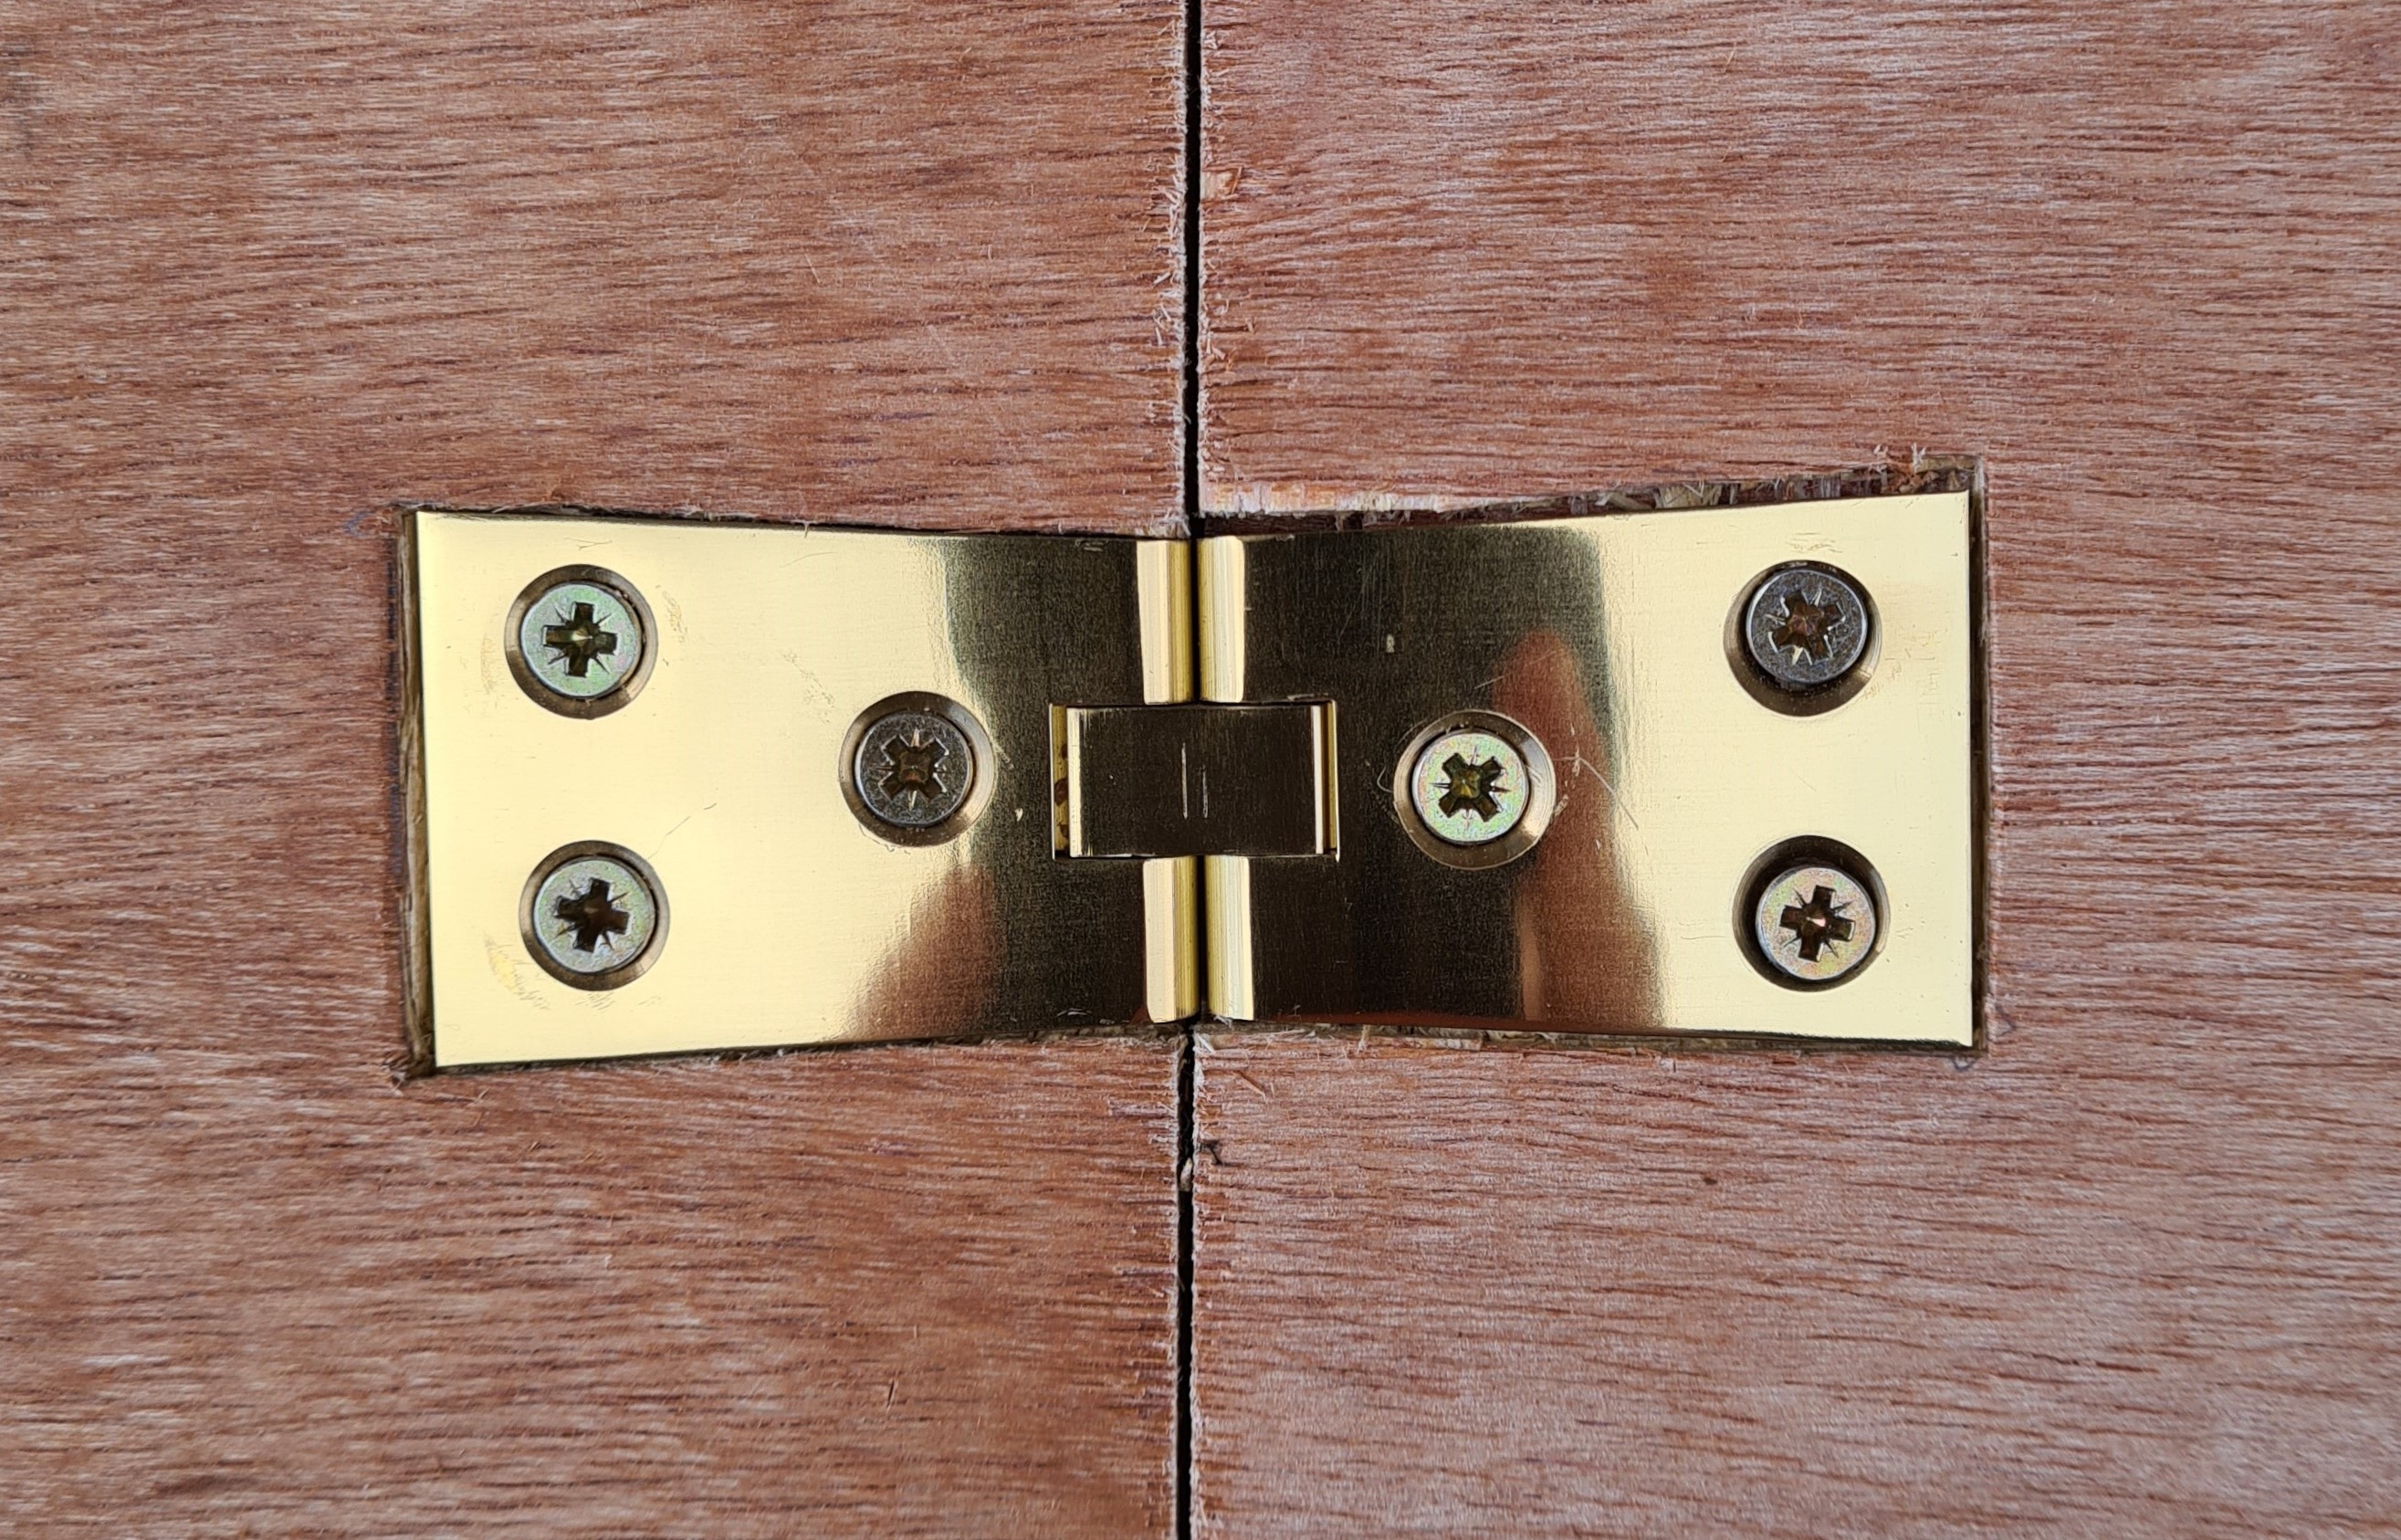
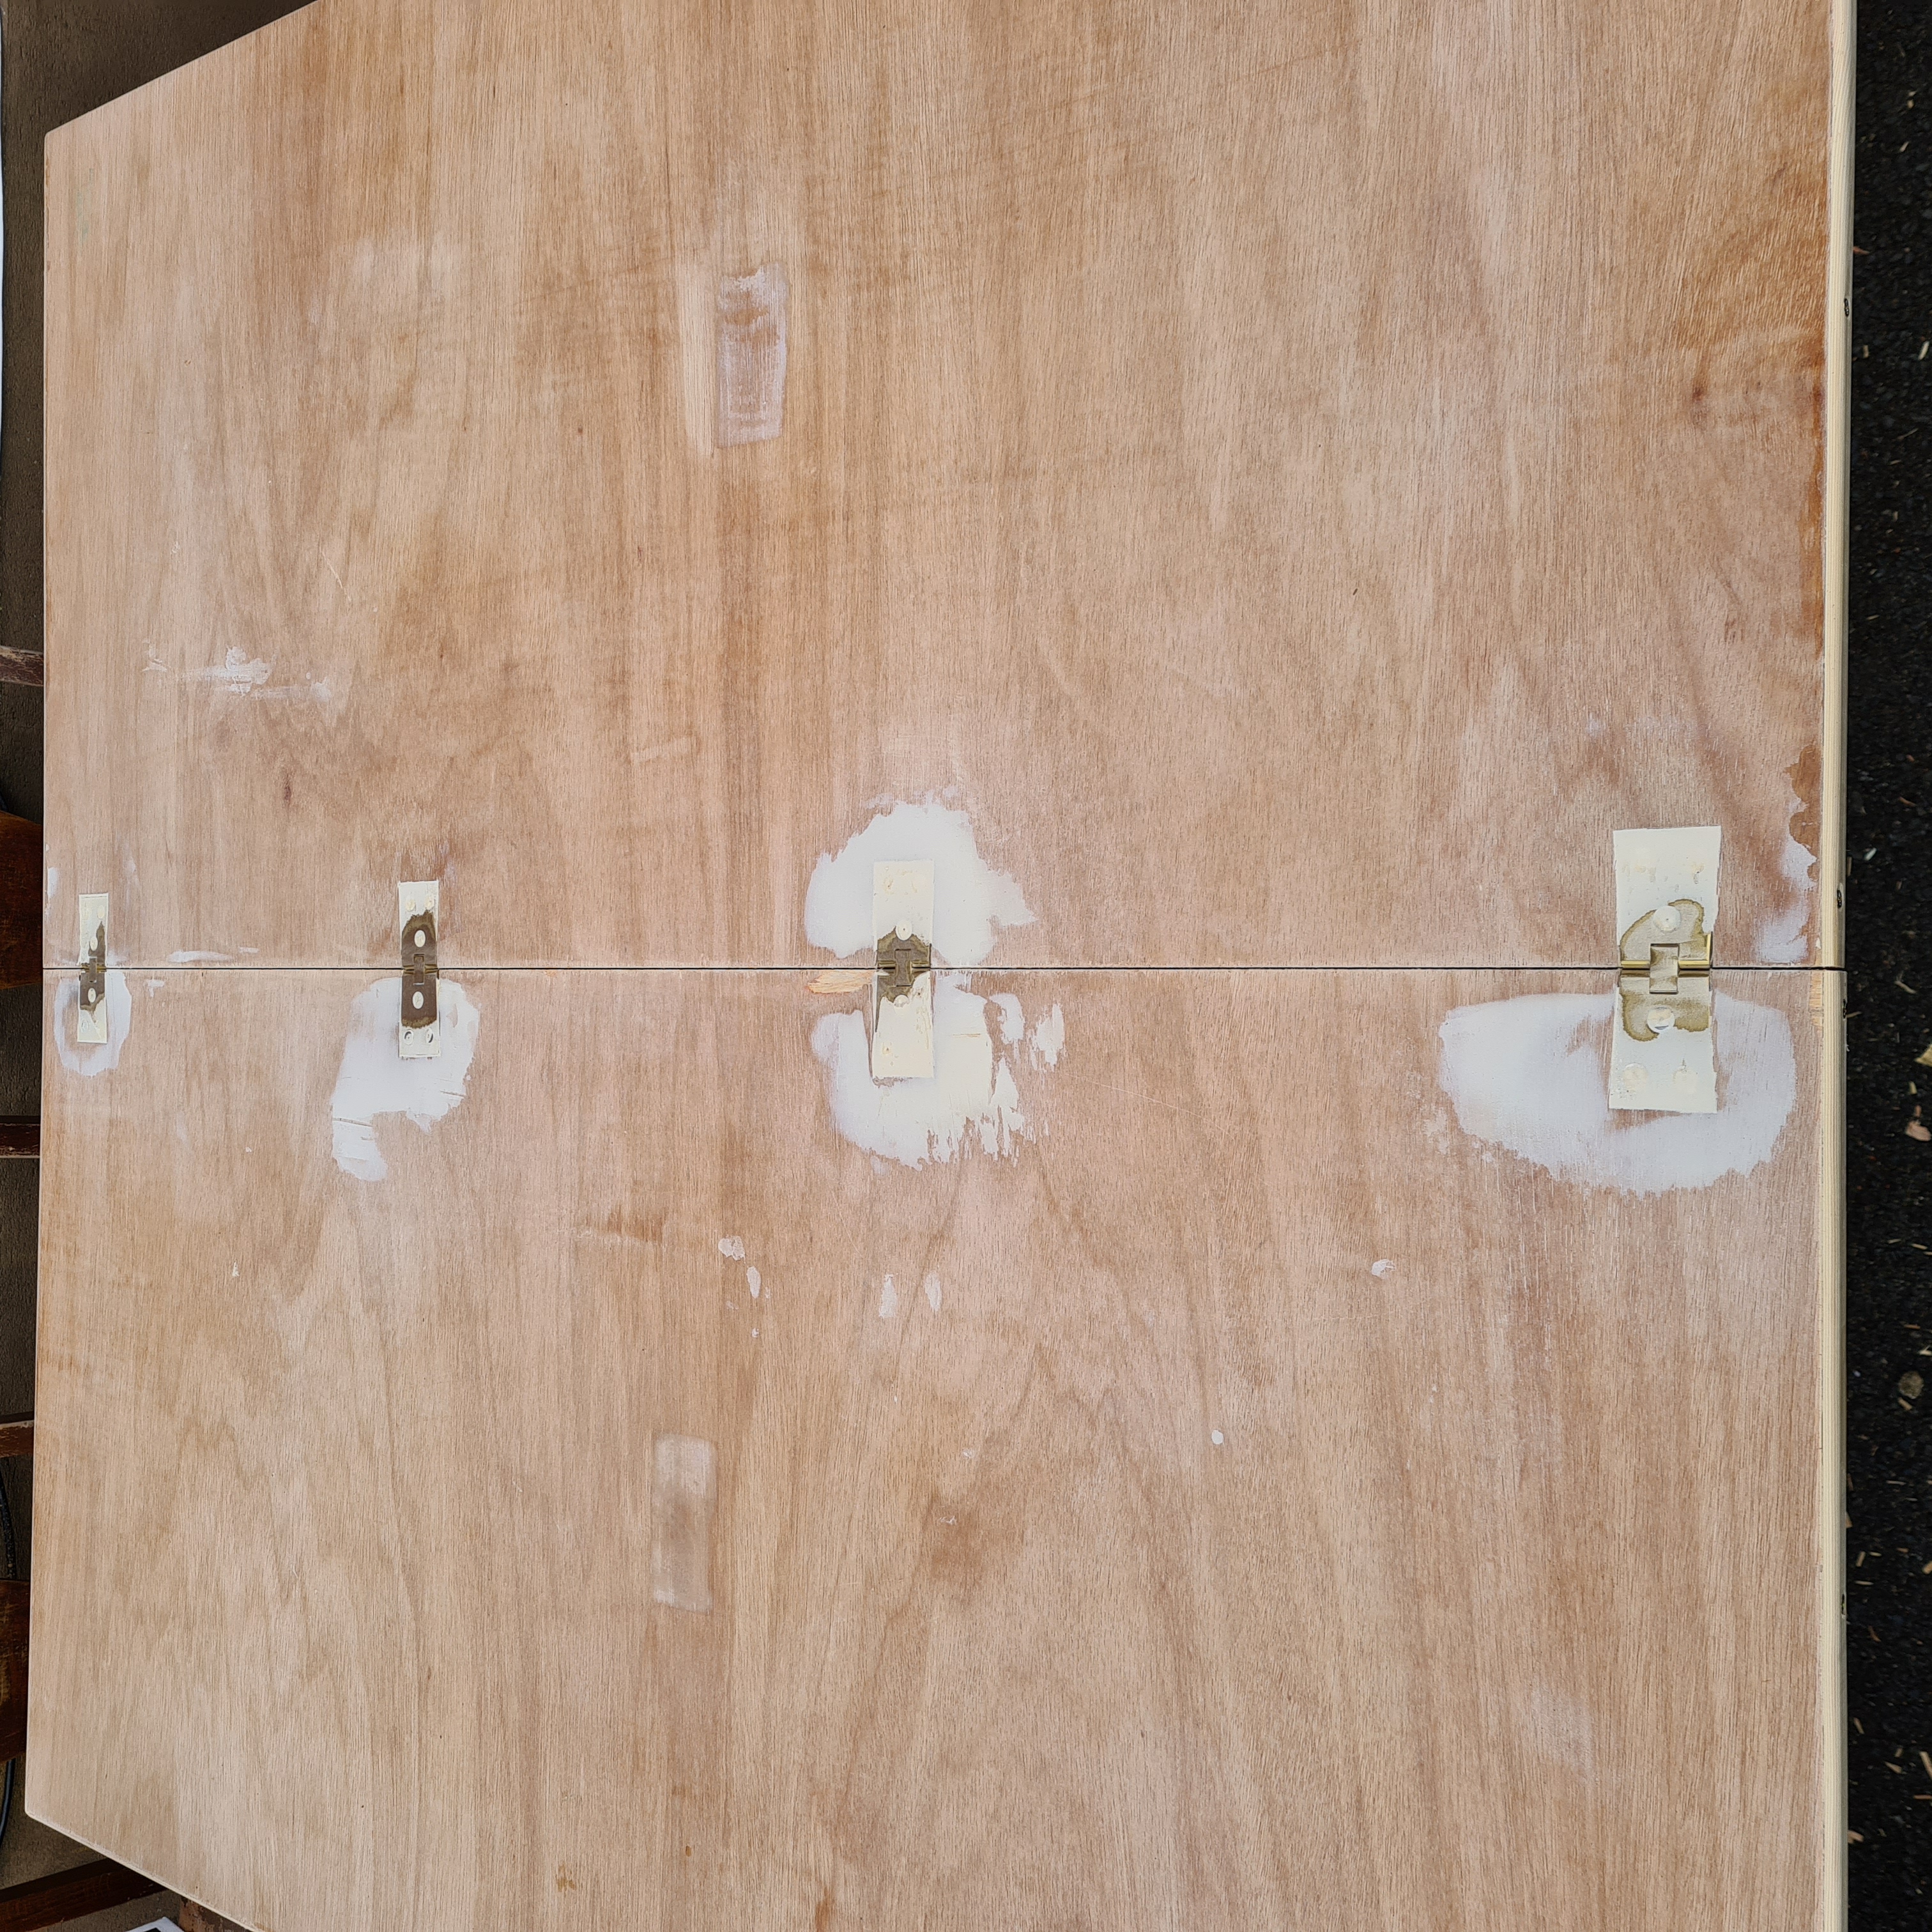
Next step was to attach the hinges. When considering the design of the board, I wanted a hinge that didn't protrude when the table is laid flat. Lo and behold, such a hinge exists, it's called a "counter hinge". I discovered this in the "Collins Complete Woodworker's Manual" (p339).
For extra sturdiness I opted for 4 hinges in total. It seems they're often sold in pairs, so I bought two pairs.
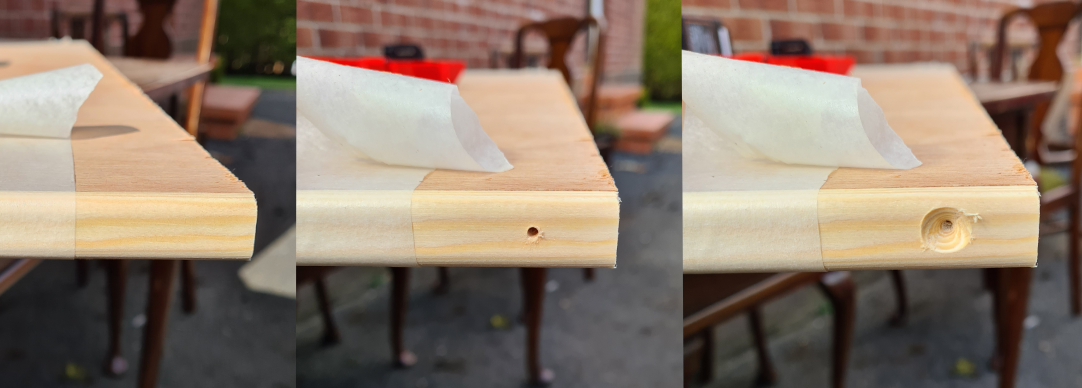
These have to be set into the wood itself. Which means you need to chisel out a couple of millimeters. I used the hinge itself to pencil the outline. Then grabbed the one and only wood chisel I own, and a mallet, and went to town. This was the result:
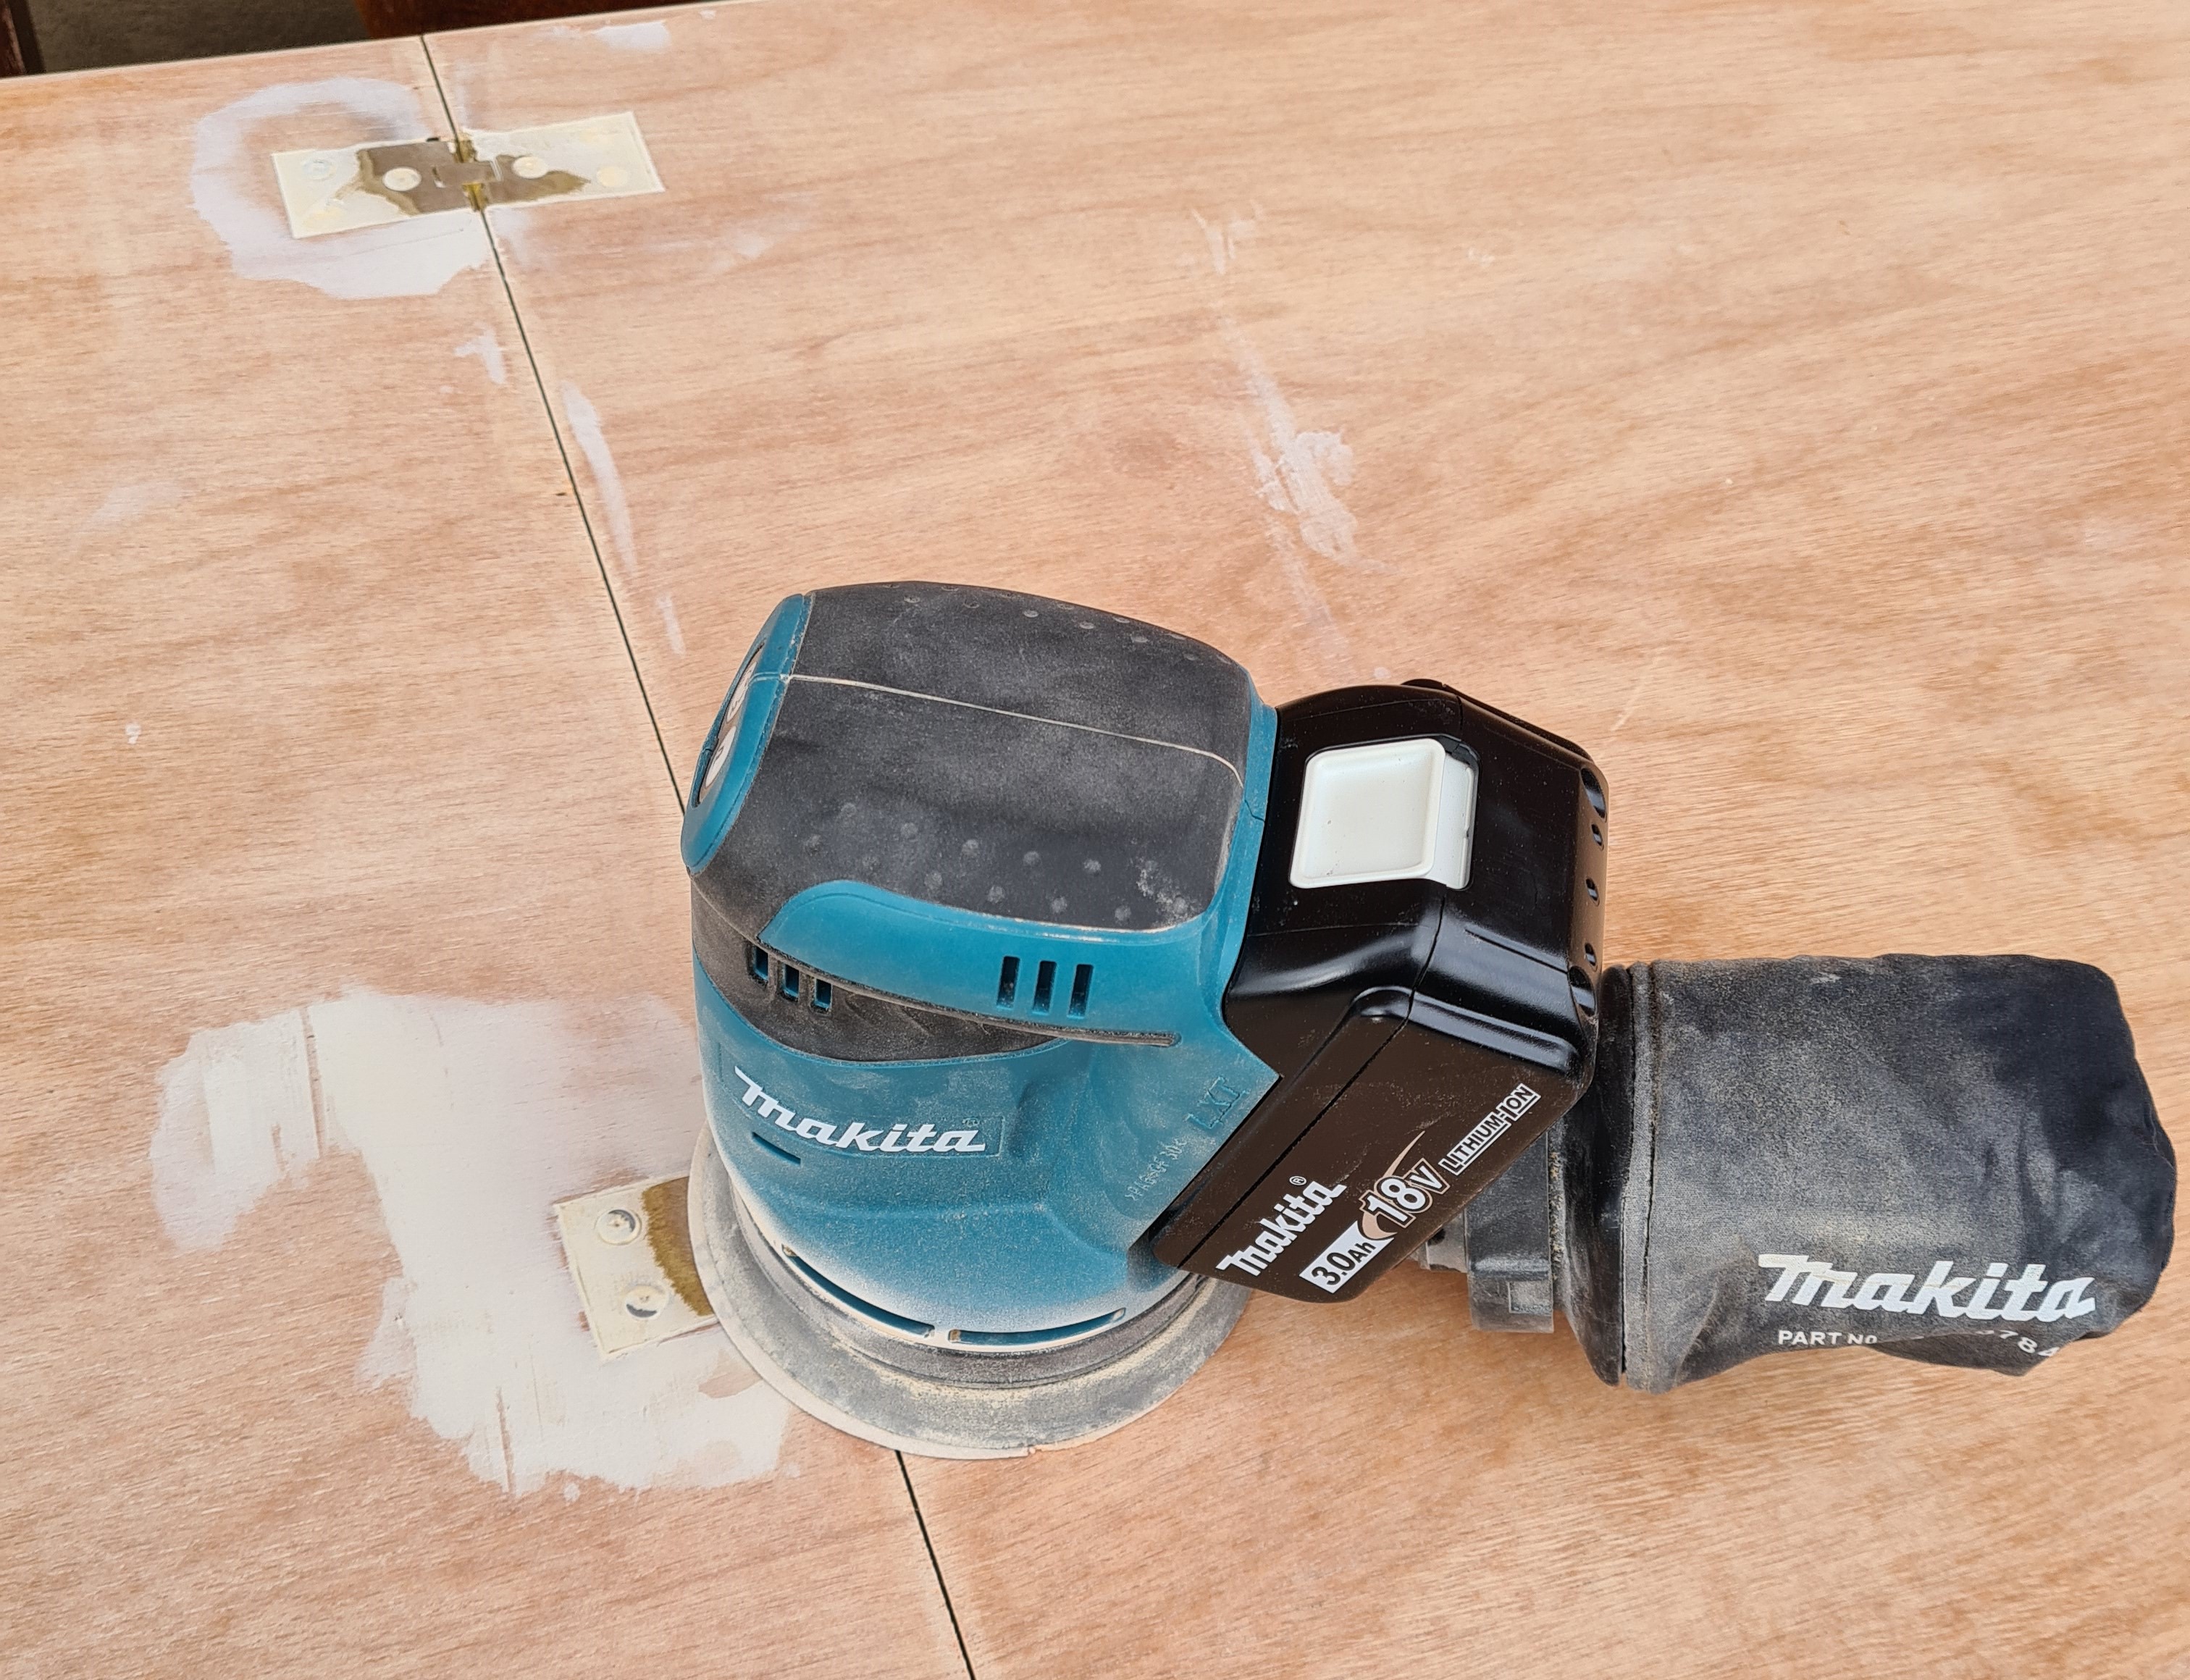
I didn't want the screwheads in the hinges to be visible. And I wanted the whole hinge area to be flat for the models. So I scraped wood filler over this whole general area, waited for it to dry, then sanded it. I also took this opportunity to stand the edges of the board.
Now for the painting.
I've never primed wood in my life, so I just looked up "wood primer" on Amazon. I got this stuff called "Zinsser B.I.N Primer-Sealer" which seems popular. It's a "shellac" based primer, which is made from insects apparently (Kerria lacca says Wikipedia). So I applied 3 coats of insect paint.
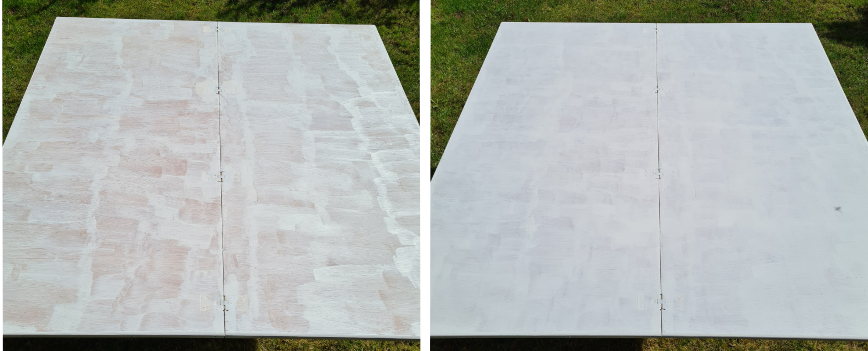
After the primer, it was just a case of painting on a colour. I opted for a dark grey; it's the grimdark world of 40k after all. I bought this in spray can form and applied two coats.
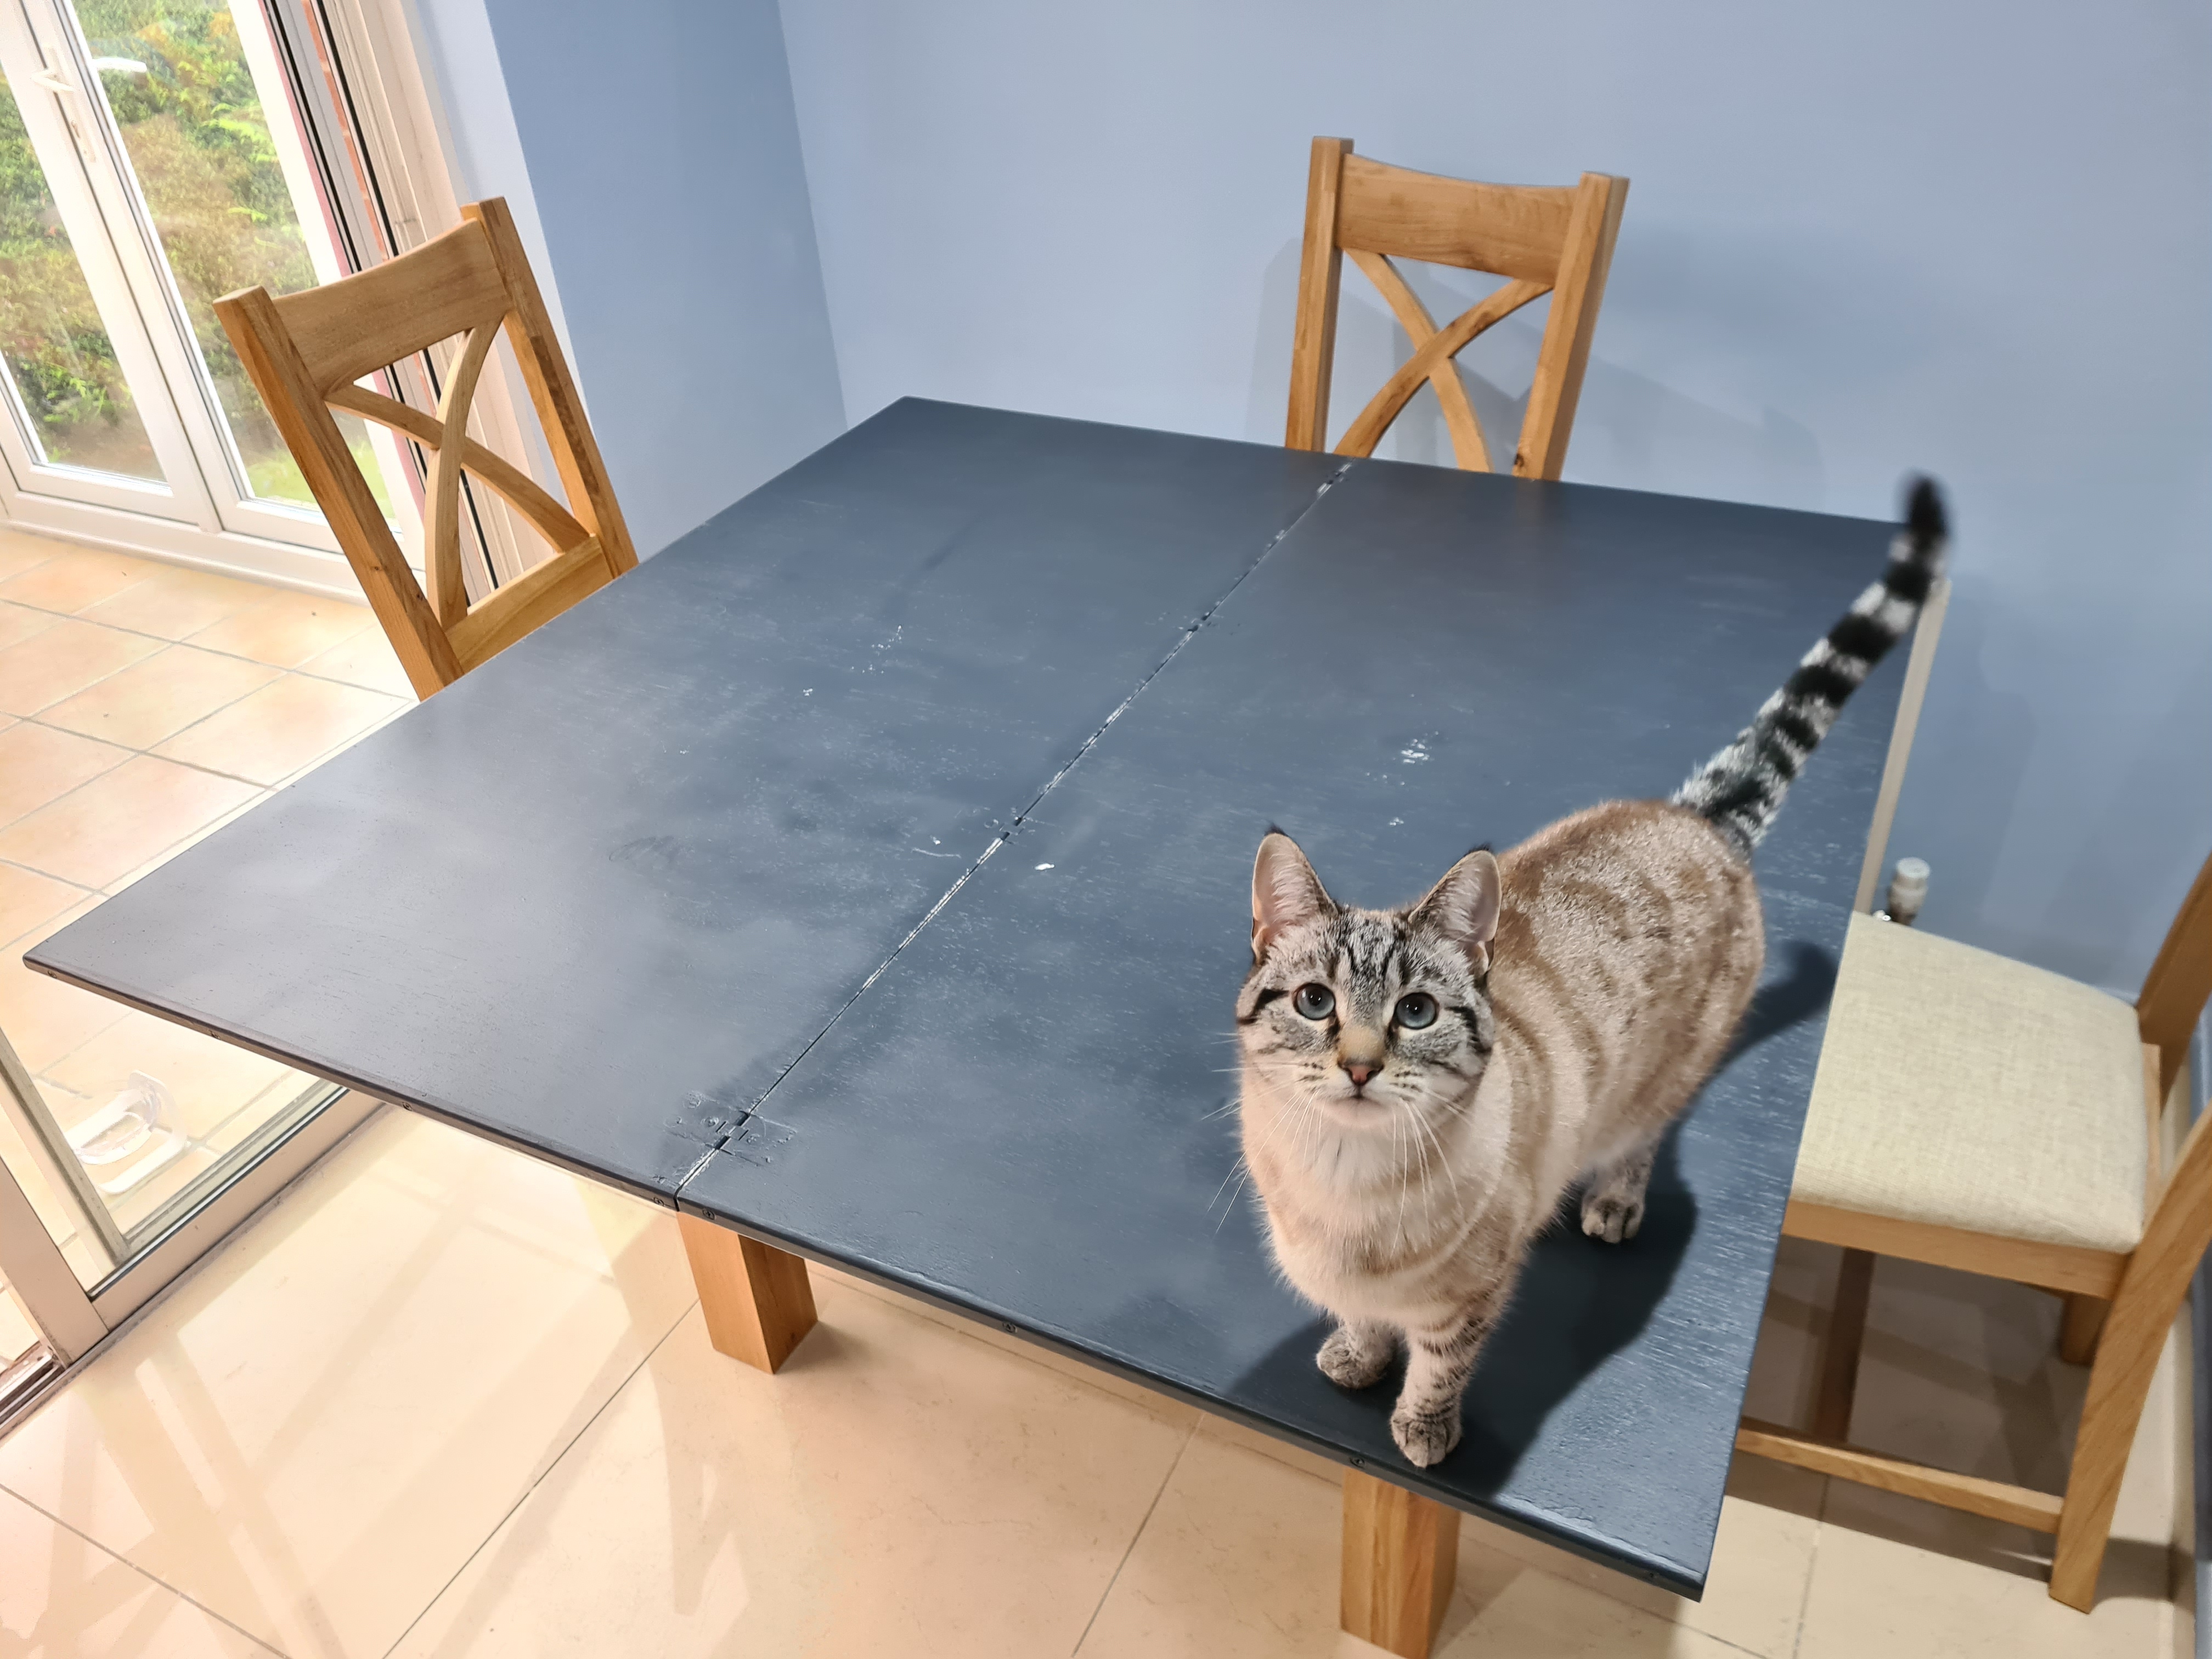
So there you have it! A massive upgrade from the kitchen table.
One final picture with the cat. I touched up a few white spots shortly after this was taken.